Season Schedule - Step 5: Collecting & Finalizing Your Schedule
About
In this 5th and final tutorial in the series, we will walk you through keeping track of preferred lesson time responses, having Duet create your schedule, and finalizing your schedule.
What You Need
Studio Families
The studio family will need their cell phone handy to receive text messages, and their email handy in case the messages are sent there. (Note that texts are always sent first. If the text fails, an email is sent instead.) The Primary Contact also needs at least three lesson days and times that work for them.
The studio family will need their cell phone handy to receive text messages, and their email handy in case the messages are sent there. (Note that texts are always sent first. If the text fails, an email is sent instead.) The Primary Contact also needs at least three lesson days and times that work for them.
Teacher
You will need access to your Duet account.
You will need access to your Duet account.
Collecting & Finalizing Your Schedule
At the end of the last tutorial, you sent out the preferred lesson times message to your studio families. In that message is a link to fill out the form where studio families choose which lesson times they prefer.
Duet Keeps Track of Responses
Once the message is sent, Duet will start keeping track of who has responded (filled out and sent the form back) and who has not.
Resending the Form
There may be times when the preferred lesson times message never reaches the users cell phone or email inbox. When this happens, you can always resend the form. (Note that texts are always sent first. If the text fails, an email is sent instead.)
-
In your Season Schedule, under the To Be Smart Scheduled section, find the student you wish to resend the form to and hover your mouse over them.
This will bring up three options: Resend Signup, Schedule Manually, Remove.
-
Click on the
Resend Signup
text. The preferred lesson times message will be resent.
All Responses In: Creating Your Schedule
When all responses are in, you can go to the next step. Most commonly, responses will be in ahead of the deadline. When this occurs, you have the option of not having to wait for the deadline date to occur before moving along.
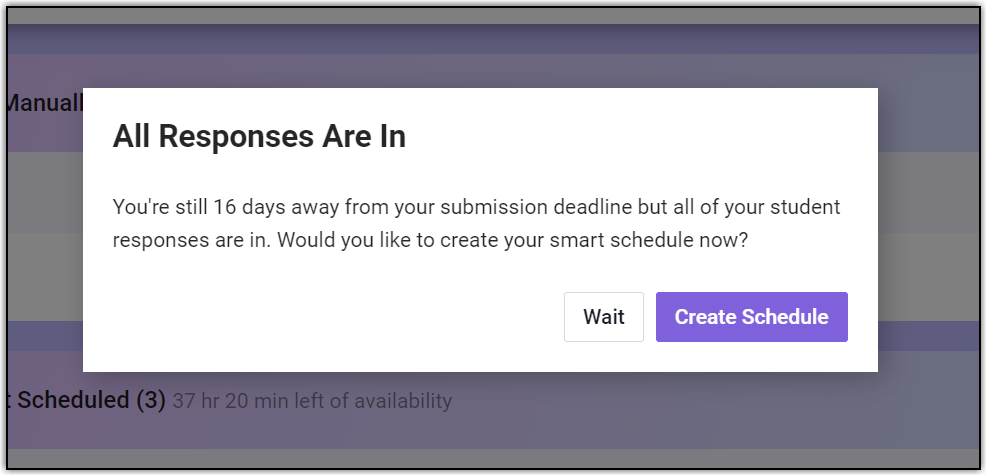
When you go to your Season Schedule, a popup box will appear asking if you want to proceed.

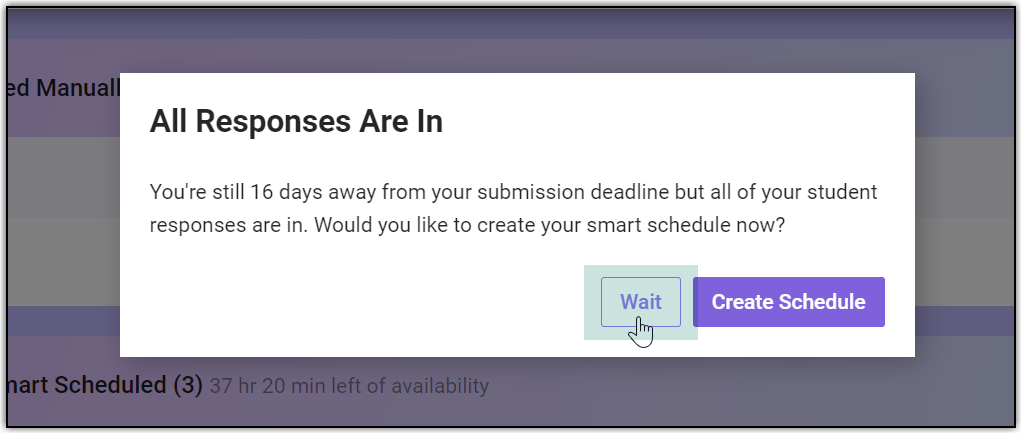
If you do not wish to proceed to the next step, click on the Wait button.

If you do not wish to proceed to the next step, click on the Wait button.
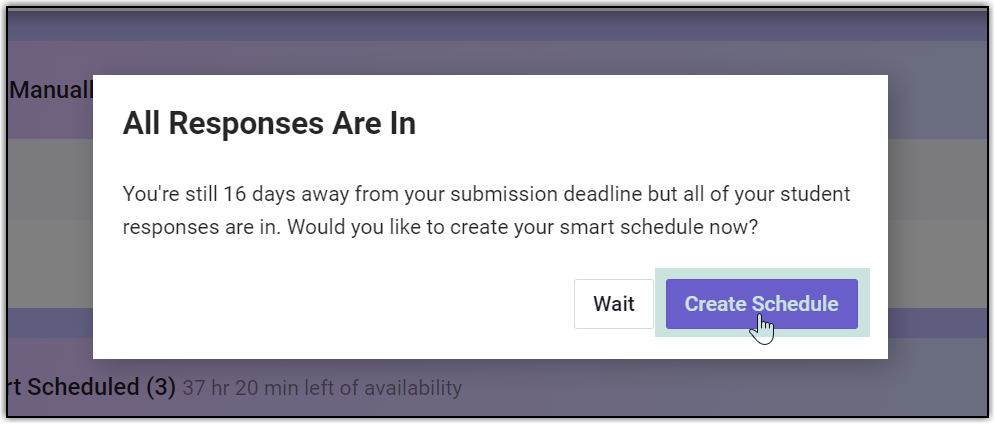
In this example, we want to proceed. Click on the
Create Schedule
button. Duet will now create your schedule.

Next, a popup message will appear letting you know that Duet is done creating your schedule. Click on the OK button to exit.
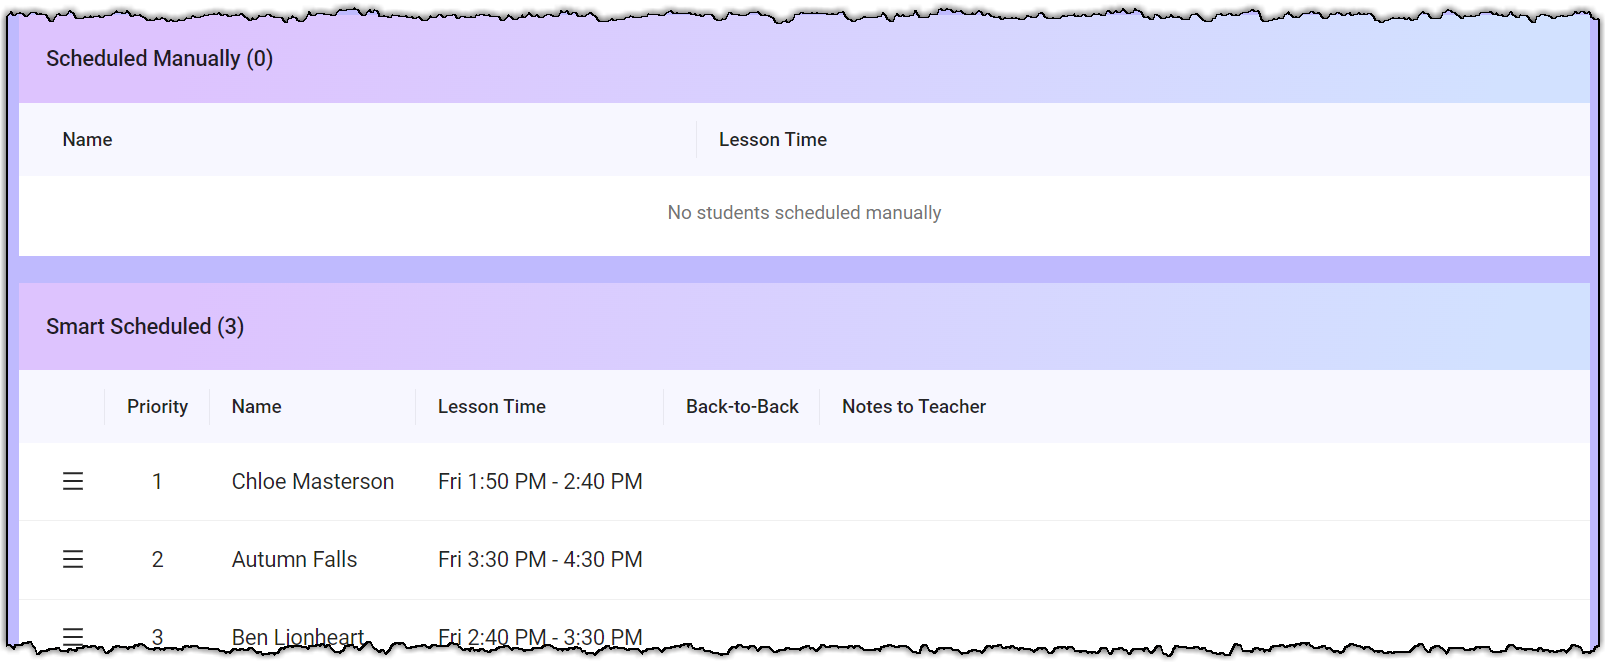
You are now viewing the schedule that Duet created.

Schedule Created: Still Make Changes
At this point, you can still make changes to your schedule. You can either make the changes manually or ask Duet to rerun the schedule. In this example, we will ask Duet to rerun the schedule.
-
Go to the top right corner of the page and click on the circle-arrow button.
The popup box Rerun the Smart Schedule will appear. Click on the Rerun the Smart Schedule button. Duet will rerun the schedule.
 To manually change a students schedule, see this article .
Confirm Your Schedule
Once you are happy with the schedule, you can finalize it. When you do this, Duet will auto populate your calendar with your new schedule.
-
Go to the top right corner of the page and click on the
Confirm Schedule
button.
-
The Confirm Schedule popup will appear. When ready, click on the
Confirm and Send Lesson Times
button.
Duet will auto update your calendar with the new schedule and then transport you there so you can see your new schedule.
And studio families will receive this message:
Congratulations! Your new schedule is ready to go.
What's Next
<<< Previous: Step 4: Messaging
Related Articles
Season Schedule - Step 4: Messaging
About In this 4th tutorial, we will take a look at step 4 of the setup process: Messaging. Now that you've established your teaching your availability and which students you will be teaching, your studio families will submit their preferred lesson ...Season Schedule - Step 3: Students
About In this third tutorial, we will explain the Students step of the process. In this step, you will manually schedule any students who already have an assigned lesson time, and you will indicate which students should be auto scheduled. Students ...Season Schedule - Step 1: Overview
About Welcome to your Smart Season Scheduler! This feature will create your teaching schedule for you. You just need to feed your smart scheduler some information. In this first tutorial, we will walk you through the first step of the process: the ...Season Schedule - Step 2: Your Availability
About In this second tutorial, we will walk you through step 2: Your Availability. In this step, you will submit the times you plan to teach throughout the week. Duet will use the schedule you set here to populate your students' lesson times. These ...